Thank you so much for dropping by! Today’s post is a collection of our family’s favorite ways to celebrate Earth Day. We would be so honored, fellow earth-lovers, if you would join dirt-covered hands with us as we teach our children to care for creation! This endeavor is foundational for *Holistic Education* —nurturing the whole child in mind, body, and spirit as we teach them to cultivate the earth in much the same way.
Coming Down to Earth
Posters, petitions, and pomp and circumstance don’t (by themselves) add one drop of oxygen to the atmosphere or remove one piece of plastic from a landfill. A little less talk, and a lot more action, please! Friends, Romans, Earth-Lovers . . . let’s stop environmentally pointing fingers and instead dig in with them! If we don’t have dirt under our own fingernails, then what right do we have to throw any at our neighbor?
Saving the earth starts with cultivating any piece of it we can get our own two hands on, and then equipping and encouraging others to do the same. We must put to practice sustainability on our own soil before demanding it to be applied to someone else’s plot!
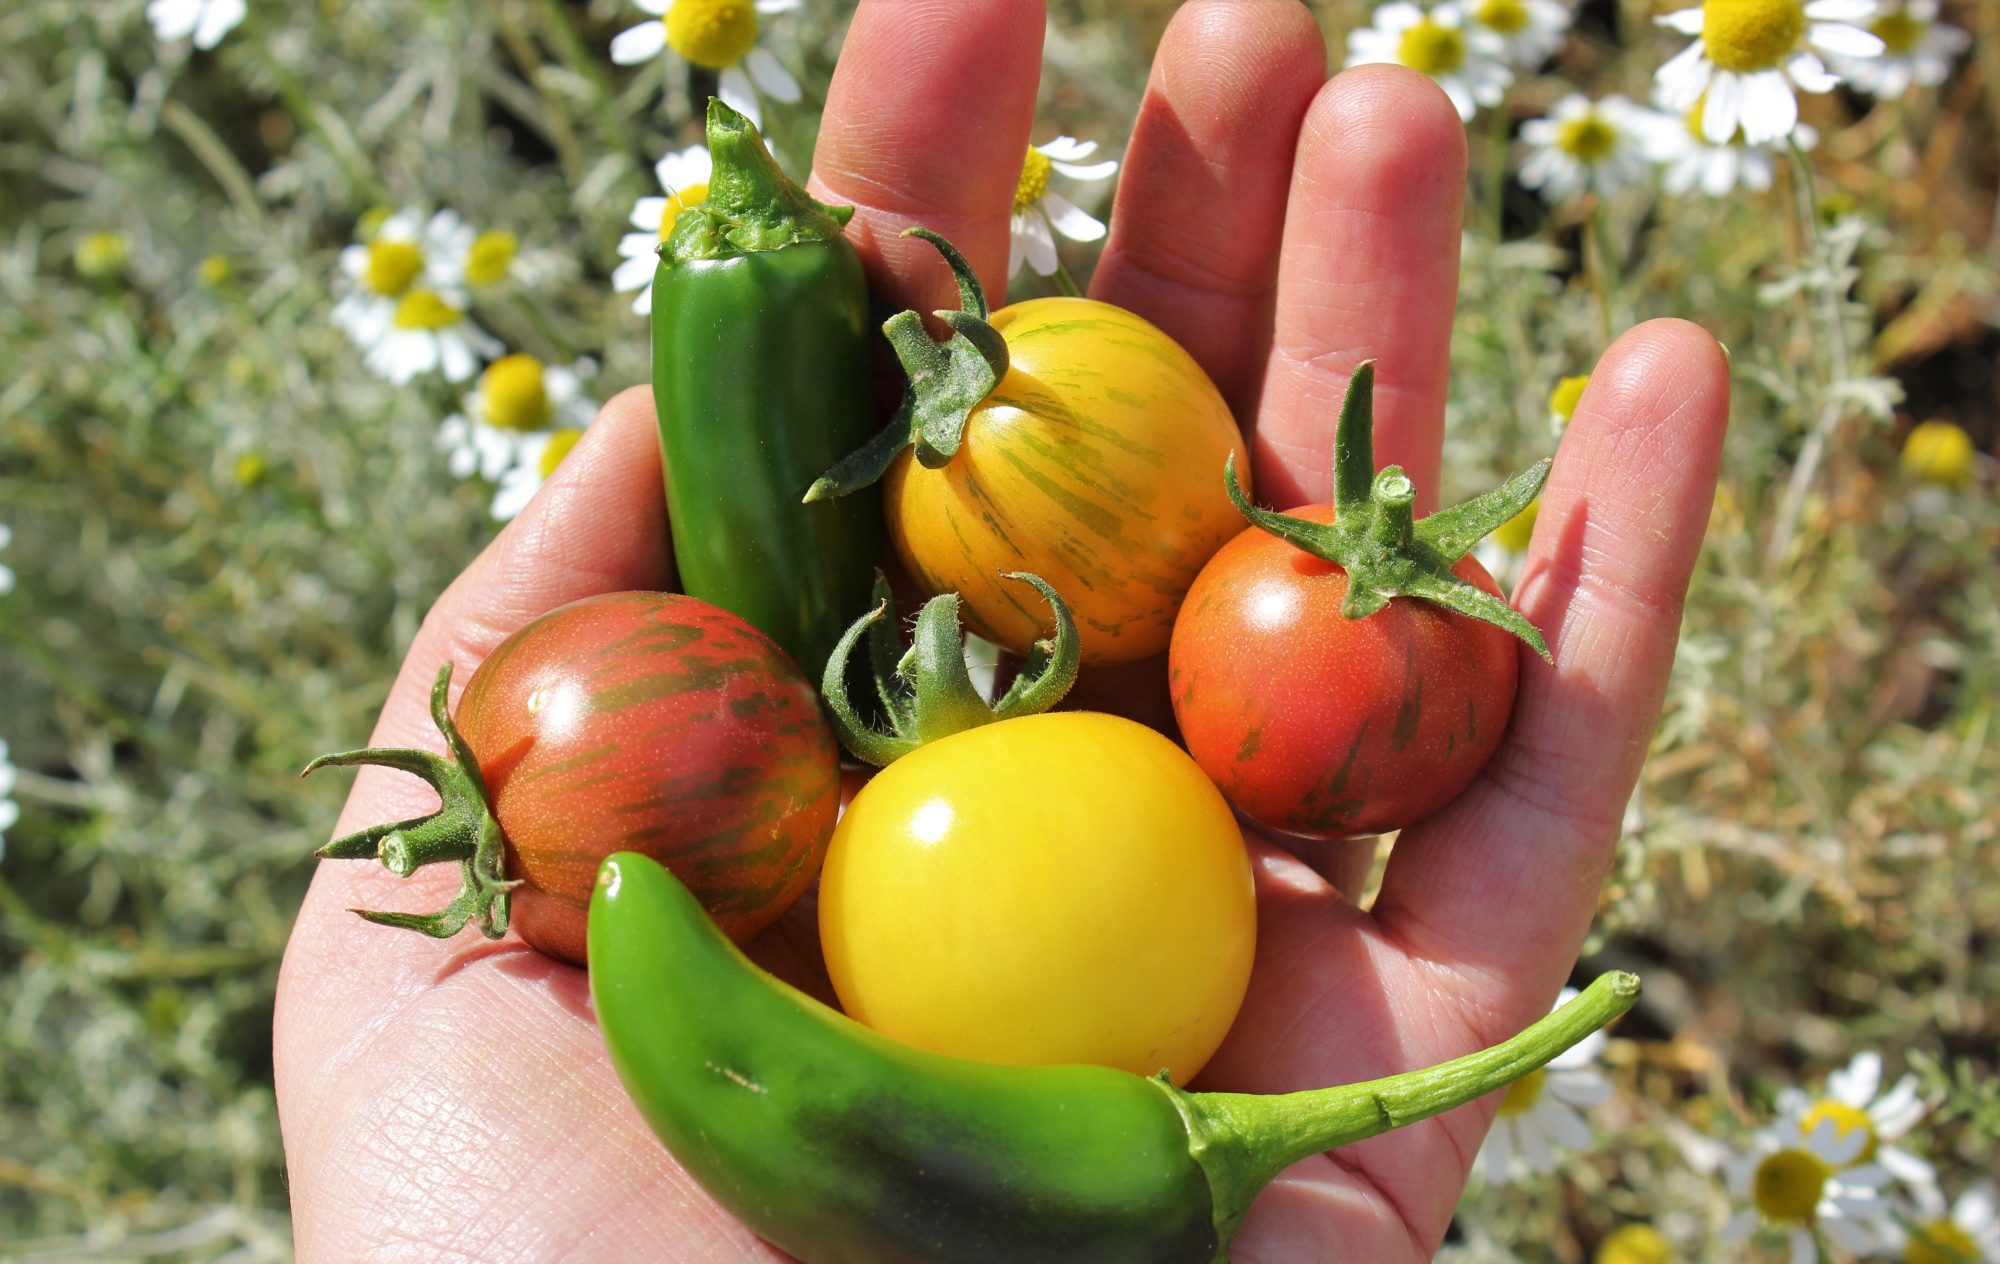
We would be wise to remember that gentle rain and sunlight help seeds to germinate, not wind or harsh heat. A hand-delivered basket of rainbow-ripe produce from our backyard will do far more to inspire a “coming down to earth” than will incessant harping about bees, butterflies, and soil depletion.
Better yet, by gardening with our kids we can serve the earth in the present even as we sow seeds of sustainability for the future!
The best way I know for our save-the-planet-cause to truly take root, grow, and flourish is to plant it in the heart of a child. That means digging in the dirt, together!And who knows, maybe the neighbors will see.
Let’s dig in . . .
🪱How to make a WORM COMPOST FARM with your kids!🪱
Ok, stop squirming! And whatever you do, don’t try to worm your way out of this activity! It’s fast, easy, so much fun, and I promise it really isn’t gross at all!
A little Q & A before we inch into things!
Q: Why worm compost?
A: Worm composting is a dream.
It’s EASIER than regular composting . . . by a lot.
It takes far LESS SPACE; worm composting only requires the space of one storage tote.
There is NO TURNING necessary.
Results are way FASTER than regular composting. The worms break down food scraps so quickly, your compost will be ready in no time!
Your worms will reproduce in the bin and you will have EXTRA WORMS to add to your garden in just a few months time!
Q: Eeep! Do I have to handle the worms?
A: No, you do not have to touch the worms if you don’t want. In fact, it is better for the worms to be left alone as much as possible . . . a difficult concept for my seven-year-old son.
Q: Can we do this activity if we live in a neighborhood or apartment?
A: As long as you have a cool (40 to 80 degrees), somewhat dark place to keep a storage tote of dirt and worms, you can worm compost basically anywhere! Make it an incentive to purge a tote full of junk!
Q: How long does this activity take?
A: Less than an hour. Seriously!
Q: Is it a lot of work taking care of your worm compost bin?
A: Not even a little bit. We feed our worms a bowl full of collected food scraps each week (mostly used tea leaves and coffee grounds which are so easy to come by around here), bury them in the soil inside the bin and . . . that’s it! We’re talking less than two minutes of care each week. Easier than goldfish and ten times as prolific!
Q: Doesn’t it . . . stink?
A: Actually, no! I was worried about this as I am incredibly sensitive to smells and we are keeping our bin in our basement. After keeping these bins for four years now, I am happy to report that our worm farm does not stink. A few times it has started to because we either forgot to bury the food scraps or we over-fed and the worms weren’t able to keep up. If this happens, don’t worry. Simply add more dirt, mix in well, and cover with another inch or two of dirt on top. In a day or two, all will be well. In fact, as weird as it sounds . . . our worm compost bin usually smells quite good! Think like fresh soil after a rain. Ahhhh. After all, we’re designed to love those healthy, micro-organism abundant, earth-rich aromas. Moderate moisture levels if needed, use fresh food scraps, and there is no reason you should find your worm compost bin offensive.
Worm-Composting in 10 Simple Steps:
1.) Order your worms.
Make sure to order RED WRIGGLERS. That is very important. Night-crawler worms apparently can be very territorial? I know, that made me laugh! Also, they tend to feed on fungus mostly while red wrigglers devour food waste like nobody’s business (half their body weight PER DAY! Creation is crazy cool.)
We ordered our Red Wrigglers from Uncle Jim’s Worm Farm, and we give them two thumbs up! Our worms arrived looking sketchy just as Uncle Jim warned us they would, but within a day they were thriving fit to make a mama cringe! Just keep that lid closed and let your kiddos feed the worms! That’s what I’m doing anyway.
2.) Clear out an old storage tote.
Any tote will do. You just need one with a working lid. Give it a little hose out or wipe down.
3.) Invite friends and neighbors!
We made a Homeschool Skill School Day out of it and invited some friends over to join in the Worm Day fun! It was the best.
4.) Hand your kid(s) a drill and let them go crazy!
Oh my gosh, the kids loved this so much! I’m going to have to think of more Drill Skill Days! Seriously, if we had let them, these drill-happy kids would have nearly destroyed these bins.
Instruct your kiddo(s) to drill a ton of holes in the tote lid, a few dozen in the base, and another few dozen around the body of the tote in the upper half higher than the worm habitat will be.
Here’s a great youtube video you can watch with your kiddos prior to this step if you want! This is a kid-friendly tutorial that we followed with James Prigioni:
5.) Fill with 6-8 inches of soil or compost.
This is a great job for even the littlest earth-lovers! Hand your little one a scoop of some kind and let them dip and dump to their heart’s content.
6.) Check the moisture of the soil.
Feel your dirt or compost, squeezing it in one hand. If it is dry and just spilling like dust out of your hand, sprinkle lightly with water and retest. If the soil feels wet, add shredded newspaper or something greener like dried leaves, dry dirt, or dry potting soil.
7.) Add your worms and set a feeding day!
Gently add your worms to their new habitat, put a lid on it, and set the bin on another tote lid or piece of plastic in case of leaking. Put the bin in a cool (40 to 80 degrees), dark, sheltered place. Set a reminder on your calendar or phone to feed your worms once a week or once every other week, and start saving those food scraps following these dietary guidelines:
avoid salty, acidic, or fatty foods (basically just fruit and veggie scraps + used tea leaves and coffee grounds)
avoid citrus
chop finely and store in fridge so they don’t spoil (or skip this step by simply collecting your used tea leaves and coffee grounds in a compost bin on the kitchen counter… this is all we feed our worms!)
8.) Weigh your scraps and feed your worms!
Collect food scraps each day as you cook into a stainless steel metal bowl and store it in the fridge. Or skip this if you plan to only use used tea leaves and coffee grounds as mentioned above. When it’s time to feed your worms, simply take them what you’ve gathered.
How much to feed your worms each week: There is a recommended feeding amount for worms, however, I’ve never followed it in four years’ time. 😆 I’m also that lady who won’t follow a recipe. Here’s the thing: the worms eat what you give them and they do just fine. Also, your worm population will adjust to how much food is going in the bin. Think of your bin like a fish or turtle tank; the animal will grow to the size of the tank. So, if you keep increasing the soil and food in your bin, your worms will go crazy. If you spilt the bin into two bins, they will be fruitful and multiply to fill both.
In other words, don’t overthink it and feed your worms what you’ve got. Unless you want to overthink it, in which case see the below, once-a-week feeding formula. Just know that you will end up guessing anyway as your bin grows.
3 ½ pounds for 1000 worms
1 ¾ pounds for 500 worms
just under a pound for 250 worms
How to feed your worms:
cut up food scraps finely (skip this step if using only tea leaves and coffee grounds)
dig a small trench on one side of the bin and bury the scraps (next time you feed, switch to the opposite side and rotate each feeding)
9.) Monitor the smell and moisture level of compost at feedings.
If the compost bin is starting to smell, chances are that your worms are not eating as fast as you are feeding them. Reduce how much or how often you are feeding the bin. You can also split the bin into two if you want to use all your scraps and add more soil to each bin to allow your population of worms to increase. You may also want to adjust what you are feeding them if there is a bad odor.
If the compost is wet, add dryer food scraps plus dry leaves, newspaper shreds, dry dirt, etc.
If the soil is very dry, simply sprinkle with water or consider a wet food scrap such as used coffee grounds.
10.) Split your habitat or spread your worms!
As the worms reproduce you will need to either: divide the habitat into two bins, adding more soil and continue with a two-bin system (or three or seven). Or, if you are not ready to start a worm farm business and want to keep things confined to one tote, simply spread your compost out in your garden for your worms to continue their earth-magic independently! This is why you started worm composting in the first place. Just be sure to save at least a gallon or so of your worm compost to keep the habitat going. Don’t worry. They will rebuild! Simply add a few planters of spent soil or potting mix to the bin and the cycle starts all over again.
Tape this reminder sheet to your worm habitat tote so you don’t have to go searching for this post at feeding time!
THIS is what our Worm Compost Bin looked like after the first three weeks!
I moved my hand around in there a little bit and the worms had already tripled and quadrupled in size. We started with plain old dirt, as we didn’t have developed compost on hand at the time, and in just a few weeks’ time, the look, feel, and smell of that dirt improved dramatically! We could even taste the difference. Just kidding! At any rate, we were thrilled with the results from the very beginning. Fast forward four years and my cup runneth over with . . . worms? Let’s just say, my raised beds are very, very happy and literally full of red wrigglers.
🌎7 More Ways to Celebrate (and cultivate) Earth Day with your Kids!🌍
Whether you celebrate just one day, one week, one month, or Earth-it-up all 365 . . . today I have for you some simple, grounded ways we can serve and honor creation with our children!